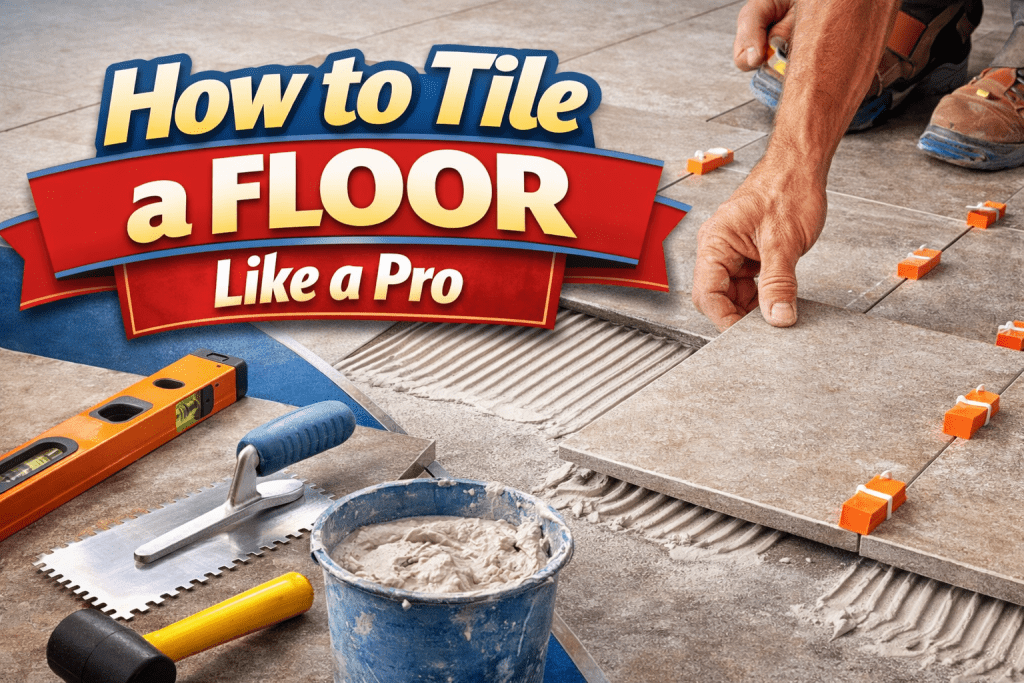
Tiling a floor is an excellent way to enhance the look of any room. Not only does it add style, but it also gives you a durable, easy-to-clean surface. Whether you are tiling a roof, bathroom, kitchen, or entryway, learning the basics of tile installation can be a very valuable skill.
In this guide, we will walk you through the process of how to tile a floor, covering everything from choosing the right tile to laying it down step by step.
Selecting the Correct Type of Tile for Your Bathroom Floor
The first step to tiling a bathroom floor is to choose the right type of tile. There are many options available, each with different costs, looks, and durability.
Tile Materials
- Ceramic Tiles: These tiles are affordable, water-resistant, and come in a wide range of designs, making them great for bathrooms.
- Porcelain Tiles: More durable and marginally more expensive, these work well in traffic-high areas, including the bathrooms.
- Natural Stone Tiles: These will give you that super upscale look, be it in marble or granite; still, they do call for more maintenance.
Tile Size and Shape
- Large Tiles: They give a better feel of a seamless room by reducing the number of grout lines and will easily make a small room bigger.
- Small Tiles or Mosaics: These are perfect for detailing the designs or to give covering small areas. They can be useful to give decorative accent as well.
When choosing tile size, keep in mind that larger tiles install easily while smaller ones, used for detailed work of a design or obstacle, fit.
Preparing the space
Before you begin, ensure that you have all the tools and materials. Here is a list of what you will need:
- Straightedge
- Rubber grout float
- Notched trowel
- Tile cutter
- A wet saw with a diamond blade
- Tape measure
- Tile spacers
- Thinset mortar
- Grout
Begin by dry-fitting the tiles on the floor to ensure everything will fit perfectly. Mark the center of each wall, and snap chalk lines to guide you in placing the first tile. Lay a row of tiles along the lines, using spacers to keep the joints consistent. This layout will help you figure out where to cut tiles along the edges. It is important to avoid noticeable small cuts, so try to make sure the edges align with walls or other less visible areas.
Spreading Thinset Mortar
Once your layout is complete, apply the thin-set mortar, which is the ‘glue.’ Mix well to the consistency of mayonnaise; spread it in a small area of the floor with the trowel’s flat edge; and use the notched edge to spread the adhesive evenly in broad strokes; this ensures that the tiles stick well and don’t have air pockets.
Laying Tiles
Now that the mortar has been applied, it is the turn to place the tiles. First of all, place the first tile gently twisted to ensure the best bond. Continue with the rows of tiles; in this case, make sure there are spacers on all sides to prevent gaps that are uneven in measurement. Always use a straightedge for keeping the rows straight and a framing square for maintaining the tiles’ straight edge.
Cutting the Tiles for Edges
In most cases, your floor will not fit perfectly with whole tiles, so you will need to cut tiles to fit the edges. Here is how:
- For straight cuts, use a tile cutter or a wet saw. If the piece to be cut is less than an inch, use nippers to break it off.
- For more intricate cuts, like around corners, measure the tile, mark the cutting lines, and use a wet saw to cut carefully.
- When cutting tiles, be patient and take your time to ensure clean, precise cuts.
Grouting the Tiles
Let the tiles set overnight before you fill in the gaps with grout. Mix the grout to a more runny consistency, similar to mayonnaise. Then spread it into the joints using a rubber float and get it into all the gaps. After applying the grout, make sure not to pull the grout out of the joints by using a moist sponge to remove any excess grout from the tiles.
Cleaning the Grout
The grout will be set after around half an hour. Wipe off the tiles with a moist sponge to get rid of any grout haze. Keep doing this until the tiles are spotless and gleaming.
Final Touches
Give the grout a full day to dry. You can then walk on your tiles. Once everything has dried, you may seal the grout to keep moisture and stains out. For the floor to seem fantastic, you also need to touch up any edges or flaws that are left in place.
Conclusion
Tiling a bathroom floor might seem to be quite complicated, but with patience and proper planning, you can do it yourself. The most important things are a precise layout and avoiding the rush through cutting and grouting steps. A well-tiled floor looks fantastic and is very strong and easy to maintain.

